
What Is ThriveCart? Features, Pricing, and How I Use It (2026)
Updated April 2026
Basically, ThriveCart is software. The article will review - what is Thrivecart, provide a Thrivecart review, and provide Thriveart pricing.
It’s also known as hosted shopping cart platform that was designed to make selling products and services online easily. It's perfect for marketers like you with its bump offers and an integrated affiliate platform. ThriveCart is a rare gem in its market. It's a powerful sales cart that all online marketers can use.
The software is a very robust, hosted software solution full of many features that help you to sell online in a professional and credible way.
The Benefits of using Thrivecart increasing the lifetime value
• Super clean and easy to understand interface
• Integrates with all major payment gateways
• Offers flexible payment models such as subscriptions, plans, and trials
• Granular control over coupons and discounts
• Supports bump offers and one-click upsells
• Feature-rich affiliate management built right in
• Easy-to-digest reporting dashboard with advanced filters
• Growing list of deep integrations with Zapier support
• Detailed documentation and an active FB community group
How Well Does It Accept Different Payments?
What is ThriveCart used for?
selling digital products
courses
coaching
funnels
one time offers
subscriptions
Who is ThriveCart best for?
course creators
consultants
small businesses
agencies
coaches
The payment processors that integrate with ThriveCart are Authorize.net, PayPal, Stripe, and Apple Pay. While these are pretty standard, ThriveCart does offer deeper integrations than some other carts, with one example being that you can offer one-click upsells and downsells through PayPal. Another thing to note here is that Stripe also allows you to accept payment through BitCoin, although ThriveCart doesn’t currently work with Bitcoin (or any other cryptocurrency).
ThriveCart works with the most popular payment processors on the market, with upcoming integrations (like Braintree) and even a direct bank transfer option in the works.
You can choose between a number of options, including 17 currencies, including USD, EUR, and GBP
• Offering a single price or multiple pricing options
• One-time, subscription, payment plans (called split-pay), and ‘pay whatever’ payment options
• Billing frequency for subscriptions and payment plans
• Free trial periods, paid trials & auto-billing
• Bump offers & one-click upsells
• Product quantity limitation
How to Use Thrivecart for Your Business?
Thrivecart Product
5 ways Thrivecart to 5X Your Sales
1. Increase Revenue through “Bump” Offers or One-Click Upsells.
When a customer is on the checkout page and is ready to complete their purchase, they see this little box that gives them the option to easily add an upgrade to their purchase…with the click of a button.
2. Send an Email to People Who Have Abandoned Their Shopping Cart.
Don’t you HATE it when someone comes to your site, loads up their cart, and then leaves before completing their order?
With ThriveCart, you actually have the ability to add these people to your email autoresponder series…meaning that about 15 minutes after they’ve abandoned their cart, they automatically get an email from you.
This means you can “sweeten” the deal by offering a discount or free shipping…or simply just remind them that their cart is still waiting for them.
3. Easily Create an Affiliate Program for Your Products.
Have you ever wanted to create an affiliate program for your products, but didn’t know where to start? With ThriveCart, you can easily set one up with the click of a few buttons, and one thing which is most focused that you can set up different affiliate arrangements for different products – so you can vary the commission rates for different products. You can even set up “rules” for your affiliates: for instance, if one of your affiliates starts getting really high refund rates, you can adjust their commission percentage accordingly and this all happens automatically, so you can take a more hands-off approach to manage your affiliates!
4. Split-test Your Cart so You Get as Many Sales as Possible.
With ThriveCart, you can easily split-test two different versions of your cart – simply set up an “A/B test”, and once it’s clear which version converts best, ThriveCart will automatically choose the winner and use it for all your checkouts.
5. Entice Your Customers to Buy Using Countdown Timers.
With ThriveCart, creating scarcity is easy using countdown timers. When setting up your checkout page, you have the option to add a timer to the top of your page…and when the timer runs out, the offer is no longer available.
You also have the option to redirect visitors to another page or send them a message, letting them know when the offer will be available again.
How to design & create Product & Checkout Page With ThriveCart
1. Log in to ThriveCart
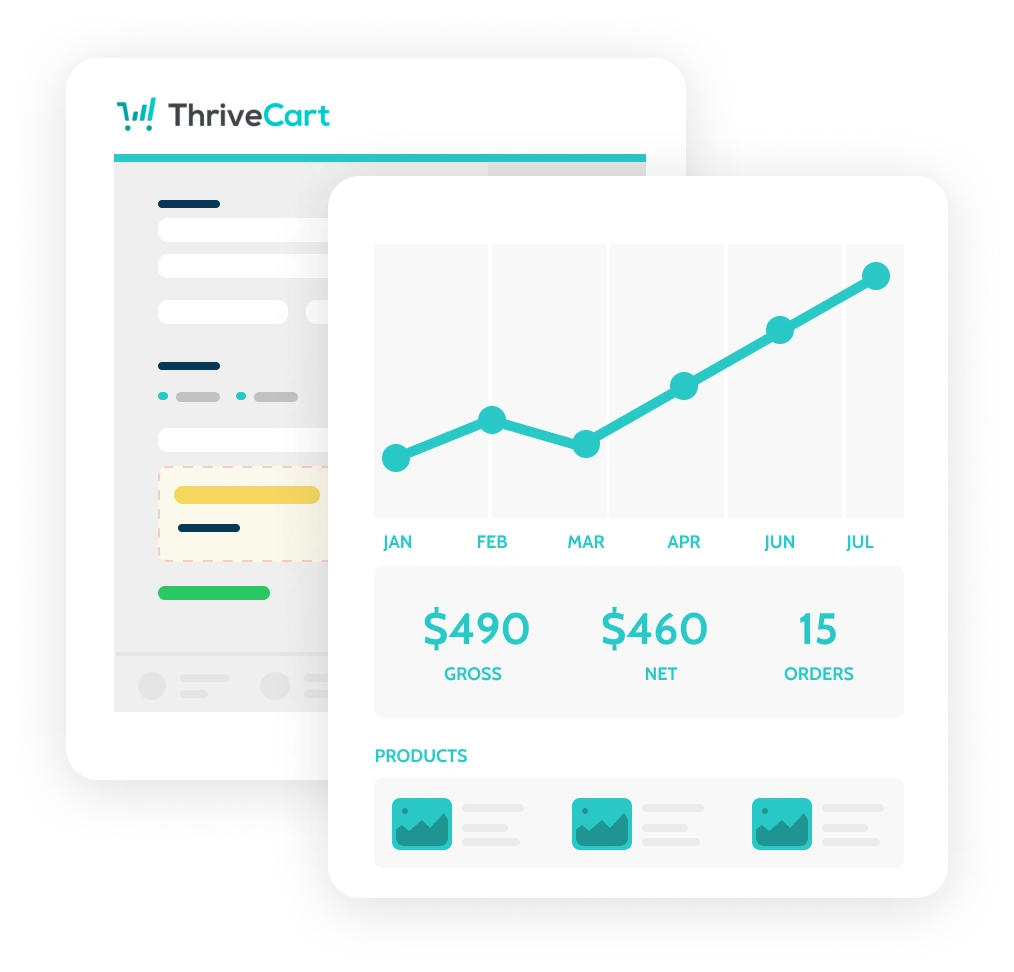
Once you’re logged in, you’ll immediately be directed to your dashboard.
Summary and graph of your daily sales and revenue will immediately appear…so you’ll always know exactly how your cart and sales strategies are performing.
2. Create a New Product
The very first thing you’ll want to do is create a new product. Go to the top of your dashboard and click on the Products icon,
Next, you’ll click on the big blue Create product button
After clicking the button, you’ll see a popup that asks what type of product you’re selling. You can choose between a digital product (like an eBook, course, audio file, membership, etc.) or a physical product.
Make your selection, then click Create a new product.
Now you’ll come to a screen that gives you 4 different options: Product, Fulfillment, Checkout, and Behavior.
For now, since we’re still creating our product, we’re going to stick to the Product tab.
In the sub-tab under Product, we have Options, Pricing, Bump, Processors, and Affiliates.
Here is what you’ll find under each of these sub-tabs:
Options:
Here you can set or edit:
o Product name
o Product label (Only you can see this. This makes it easier to identify your product) o Checkout page URL
o Product status (disabled, test mode or live)
Pricing:
This is where you’ll set the price of your product. You can also add multiple pricing options here: for instance, if you want to give the option to pay in a lump sum or in monthly payments. You’ll also have the options to automatically calculate sales tax and customize your customer’s invoice.
Bump:
This is where you can set up a “bump offer”. These are super cool, and according to Thrive Cart’s own testing, can increase sales by up to 40%!
Processors:
This is where you’ll choose the payment processors you want to use. At the moment, ThriveCart lets you choose from 5 processors: Stripe, Authorize.net, PayPal, Apple Pay, and Google Pay.
Simply click Set up processors, then choose the ones you’d like to use.
How to set up Affiliates in Thrivecart:
ThriveCart makes it super easy to set up an affiliate program for your products. Simply click on the Affiliates tab, enter your details (including what percentage you want your affiliates to receive) and then click Save.
3. Set Your Fulfillment Preferences
The next tab is the Fulfillment tab. This is where you’ll decide what happens once someone purchases your product(s). You’ll notice there’s only one sub-tab here…After purchase. Here’s where you can select your support email or URL, and decide what happens right after your customer makes a purchase – for instance, simply display their total, send them to a specific URL, or add them to your membership site.
4. Set up Your Checkout Page
Under the checkout tab, you’ll find 4 sub-tabs: Template, Customize, Success Page, and Tracking: Under the Template sub-tab, you’ll find 4 templates you can choose from: a tall, one-step checkout, a two-step checkout, an embeddable checkout, or a Popup checkout.
Customize: In this sub-tab, you can edit and personalize the template you’ve selected. There are tons of customizations you can make here!
Some of the elements you can add or edit include:
o Your buy button
o Your box shot (image of your product) o The fields (info) you ask your customers for o Your guarantee seal o Testimonials o A video
Success Page: This is where you can customize the page your customers will see after they’ve made their purchase.
You can add or edit your headline text, a thank you a video, or the body text.
Tracking: Finally, this is where you can set up the tracking services that you want to use.
5. Set up Your Behavior Rules:
This last tab is where you’ll decide what rules or actions you want depending on your customer’s behaviors. Some examples could be adding customers to your email list, adding a tag, or adding them to an automated webinar.
ThriveCart offers tons of options you can choose from that will trigger your desired action. For instance, when a:
o Product is purchased o Payment is declined o Payment is due o Recurring payment is made o Credit card is expired
After you are finished filling out all the necessary fields just hit Save & get URL to save your product. If you happened to miss something throughout the process, don’t worry! ThriveCart will let you know so you can ensure you finish setting up your product and checkout page correctly.
Congratulations! You have now created your first product and checkout page in ThriveCart!
You can now grab the product URL and put it on your website.
Want to chat about how we use the tools - click here to book a FREE call.
Want to Pin this ?

Thrivecart Pin